/* */ Beulah Bee: November 2018

November 28, 2018

12 Tags for Christmas 2018 - No. 4 & 5

I started making tags when I discovered Tim Holtz and his blog at the beginning of December 2009 and got caught up in his daily posts for the 12 Tags of Christmas.

I had little experience stamping, didn't know about Distress inks, and his tutorials were very detailed and very helpful. I was mesmerized and I was hooked.

Tim has kept links to these posts on the sidebar of his blog and I recommend them to paper crafting beginners as a learning tool--they are so much fun!

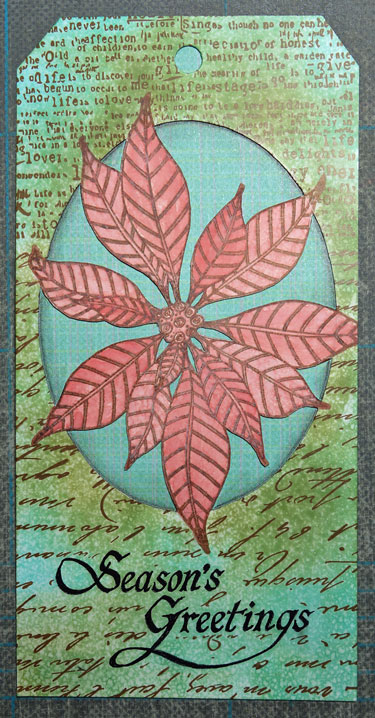
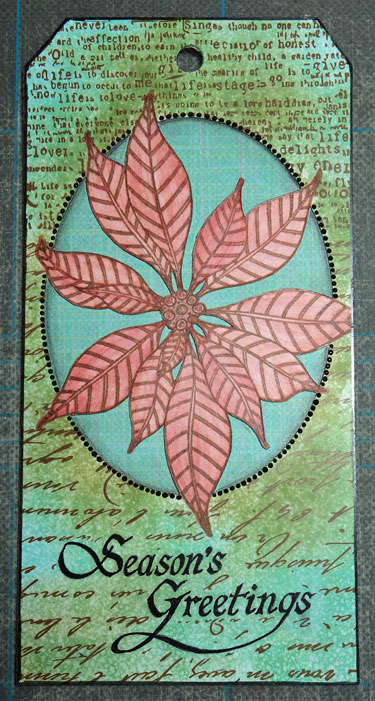
I've decided to share a few of the tags I made during this period (before Beulah Bee) because I'm a little short on time this year and won't be able to complete all 12 new ones.


This one shows my penchant for paper-cutting even back then but before I learned to tint the cut paper edges with a darker shade of ink (so they would blend in better). Scraps of pages from an old German bible were pasted on the background.


I used the same image on this tag (photocopied from a vintage greeting card that belonged to my Great Aunt Esther) and embellished it with a stamp embossed frame using antique gold powder.

The background is Tim Holtz kraft card stock and the tiny stars were recycled from a store-bought card and tinted with alcohol ink.

I could never have imagined back in 2009 that this year I'd be short on time making tags because of working on projects for Tim's Idea-ology booth at the January 2019 Creativation trade show!

What a journey (thanks, Tim)!

There are links in the sidebar to my Creativation/CHA projects or Christmas tags from past years.

November 23, 2018

12 Tags for Christmas 2018 - No. 3


I've used another Penny Black stamp called Tree of Holly for this tag and I'm linking to their Creative Christmas Challenge and also to Simon's Monday Challenge for the "Let It Snow" theme.

I used embossing ink and silver powder for stamping then filled in the tree with the juiciest, most powerful purple in my arsenal of crafting supplies--Seedless Preserves Distress Stain.

I filled in the holly and berries with paint and glitter, added more bling to the border and placed a Christmas Remnant Rub from a few years back along the bottom.

The snow was made with texture paste and a stencil by Simon Says Stamp called Falling Snow.


To see more of my Christmas tags you can click on the label at the bottom of this post or use the link I've placed in the sidebar.

November 19, 2018

12 Tags for Christmas 2018 - No. 2


May I present Tag No. 2 for this Christmas which I really enjoyed working on in a carefree manner with little or no planning.

I'm happy with the result and it was a good reminder that, too often, I overthink what I make and it gets in the way of fun.


After stamping the bird and text (Penny Black Festive Season) on a virgin manila tag, I used a stencil to trace the tree trunk and branches using a mechanical pencil with fine lead (which made it easier to get into the tiny spots).


Then I went over the pencil lines with a Uni Ball Vision Rollerball pen (Fine Black). I like this pen very much because it never clogs and the ink is waterproof. As you can see, I filled in the tree trunks and branches with additional line work in a loose and sketchy manner.


The background was painted in with watered down blue acrylic and I used colored pencils on the cardinal, berries, and Christmas text.

An oval frame (Tim Holtz Industrious Sticker) was placed around the text and some snow on the branches and other white embellishments were made with paint.


I'm linking this tag to the Penny Black Creative Christmas Challenge and to Simon's Monday Challenge Blog because this week's theme is "Let It Snow."

To see more of my Christmas tags you can click on the label at the bottom of this post or use the link I've placed in the sidebar.

November 11, 2018

12 Tags for Christmas 2018 - No. 1


I've started my tags for Christmas and, with any luck, I'll have twelve completed before December 24 (fingers crossed).

I've had a little trouble with my mojo (or muse as some would call it) so I'm going back to basics to embrace some of the original techniques that influenced my paper crafting journey.

I'm sharing my step-outs for this one, with minimal explanation, so don't hesitate to comment if you have a question about my technique.

And if you'd like to see any of my tags from Christmas past I've put a link to them in the sidebar.

Oval drawn on Speciality Stamping Paper, matt finish (Ranger)

Stamp (Penny Black) with Distress (Fired Brick)

Spread ink with water brush

Stamp greeting (Penny Black) then mask it along with flower

Stamp background with archival ink (Potting Soil)

Rub on Distress inks (Forest Moss, Peacock Feathers) and spritz with water

Cut out oval with X-acto knife.

Re-apply Fired Brick Distress ink to strengthen flower color.
Add a paper background behind flower.

Trim oval with dimensional dots and tag edge with black marker


After I'd cut out the oval, it was fun playing with different papers for the background and I finally settled on a paper that matched the Peacock Feather blues.

I'm linking this to Simon's Monday challenge blog because this week's theme is Make Your Own Background and also to the Penny Black Creative Christmas Challenge.